How to Add a Weather Widget to WordPress for Travel & Hotel Websites
If you manage a WordPress website for a bed & breakfast, a local tour operator, or an outdoor event venue, your visitors all share one specific anxiety: “What is the weather going to be like?”
It is a critical factor in travel planning. If a user has to leave your site to check Google Weather, you risk them getting distracted and never returning to complete their booking.
By embedding a stylish, real-time forecast directly on your pages, you keep users engaged, provide value, and remove friction from the buying process.
In this guide, we will show you exactly how to add a weather widget to WordPress that is fast, responsive, and completely customizable.
For best results, we recommend using a dedicated travel theme like TravelWP, which integrates seamlessly with weather widgets and booking-focused layouts.
Why Your Travel or Event Site Needs Real-Time Weather
While a tech blog might not need a forecast, specific industries thrive on this data. Integrating weather updates is a subtle form of User Experience (UX) optimization that builds trust.
Who benefits most?
- Hotels & Resorts: Help guests pack appropriately by showing the forecast for their stay.
- Outdoor Adventure Sites: Hiking, skiing, or surfing companies can display conditions to encourage impulse bookings.
- Event Organizers: Reassure attendees about conditions for weddings, festivals, or open-air markets.
Key Insight: A visitor seeing a “Sunny and 75°F” icon next to a “Book Now” button is psychologically more inclined to click than someone staring at a plain text form.
How a Weather Forecast Improves User Experience and Conversions
Adding a weather widget does more than display temperature:
- Reduces bounce rate by keeping users on your site
- Builds trust with real-time, helpful information
- Supports faster booking decisions
- Enhances destination-related content
For travel-focused WordPress sites, this small feature can make your pages feel more practical and complete.
Best Way to Add a Weather Widget to WordPress (Beginner-Friendly)
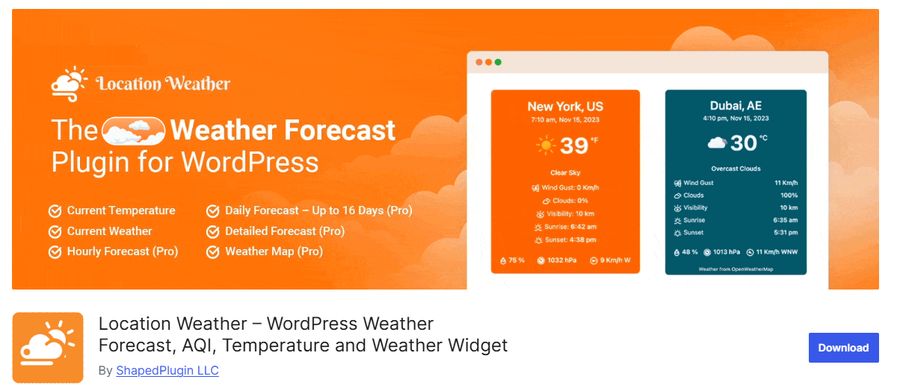
For this tutorial, we are utilizing Location Weather. It is a robust, beginner-friendly plugin that balances performance with aesthetics. It avoids the bloat of heavy scripts while offering great design options.
Why we recommend it:
- It is lightweight (won’t slow down your site).
- It handles multiple locations.
- It offers customization to match your brand colors.
While the free version is powerful, a Pro version exists for advanced features like auto-detecting a user’s location or showing multi-day extended forecasts.
Step-by-Step: How to Configure Your Weather Display
Follow this walkthrough to get your forecast up and running in under 10 minutes.
Step 1: Install the Plugin and Connect the API
Location Weather relies on OpenWeather, a reliable global weather data service. You need to connect the two.
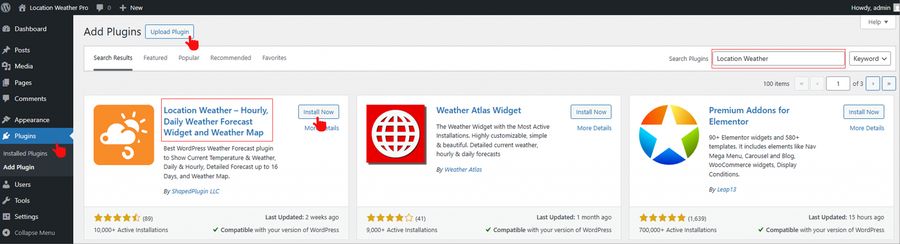
- Install: Go to your WordPress Dashboard, navigate to Plugins » Add New, search for “Location Weather,” and activate it.
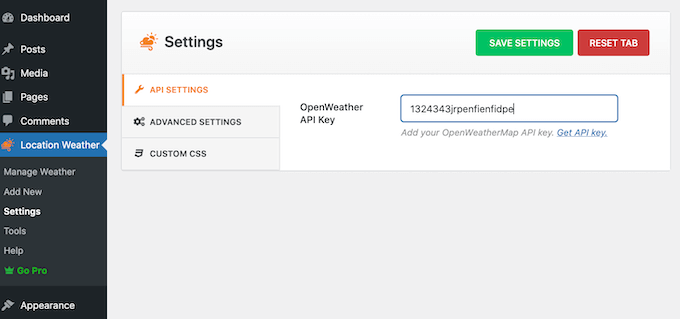
- Get API Key: Navigate to Location Weather » Settings. Click the link labeled Get API Key.
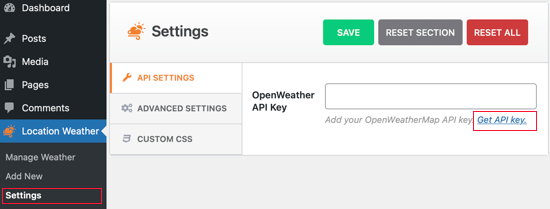
- Register: Create a free account on the OpenWeatherMap website.
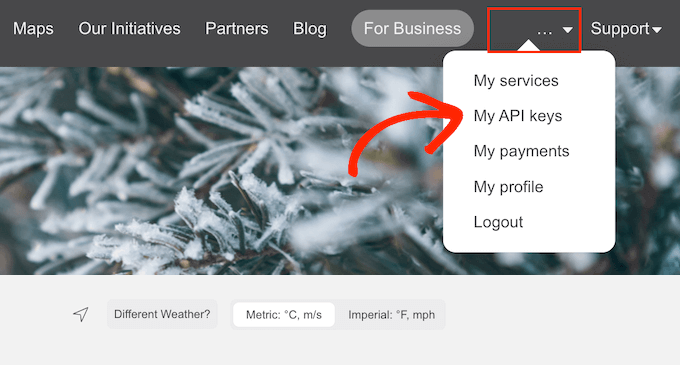
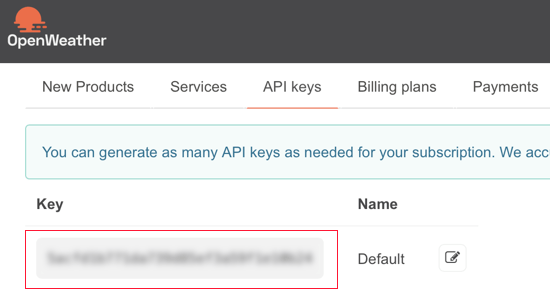
- Copy Key: Once logged in, go to the “My API Keys” tab in their dashboard. Copy the long string of alphanumeric characters.
- Save: Paste this key back into the Location Weather settings in your WordPress dashboard and hit ‘Save Settings’.
Step 2: Create Your First Widget
Now that the data connection is live, let’s build the visual widget.
- Go to Location Weather » Add New.
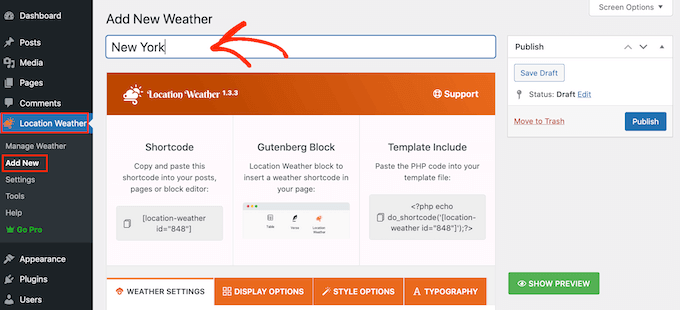
- Name It: Give your widget a title (e.g., “Homepage Sidebar Weather”).
- Set Location: Enter your target city in the format City, Country (e.g., Paris, FR).
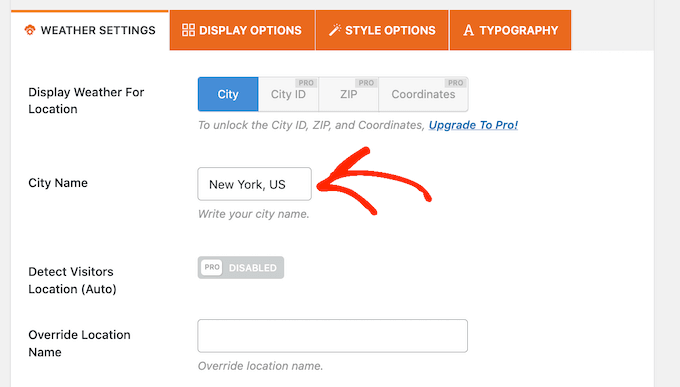
- Note: If you are in a city with a common name, the Pro version allows for Zip Codes or Coordinates for better precision.
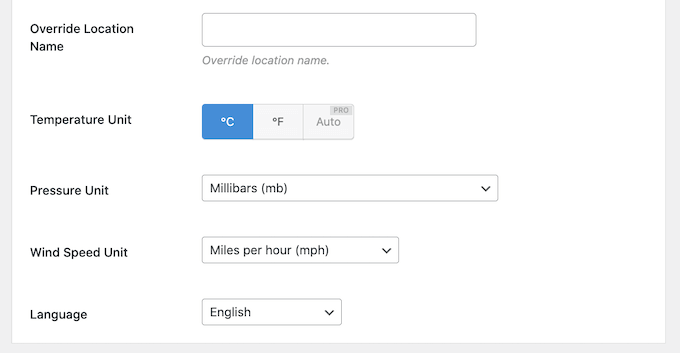
- Units: Ensure you toggle the correct measurement units (Celsius vs. Fahrenheit) based on your target audience.
Step 3: Customize the Design
This is where you make the widget blend seamlessly with your theme.
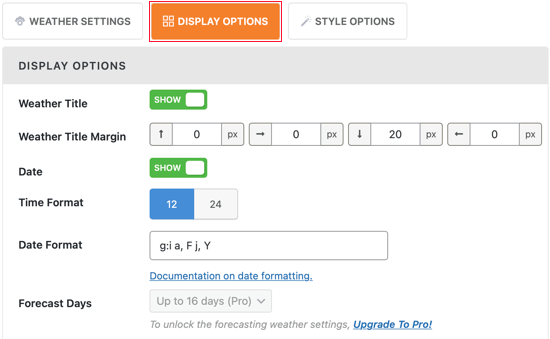
- Display Options: Choose which data points to hide or show. If you are a golf course, “Wind Speed” is vital. If you are a spa, “Humidity” might matter more.
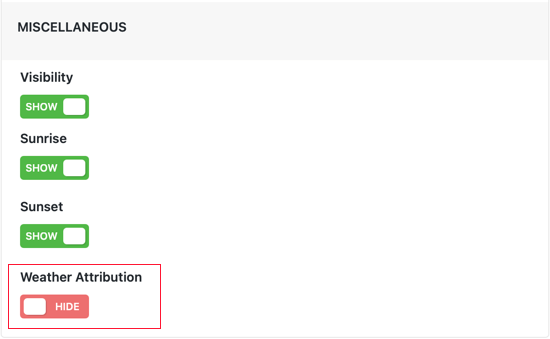
- Attribution: By default, a small credit link to OpenWeather appears. You can disable this in the Display Options tab to keep your footer clean.
- Style Options: Use this tab to change the background color, text color, and border radius.
- Pro Tip: Use a transparent background if you plan to place the widget over a hero image.

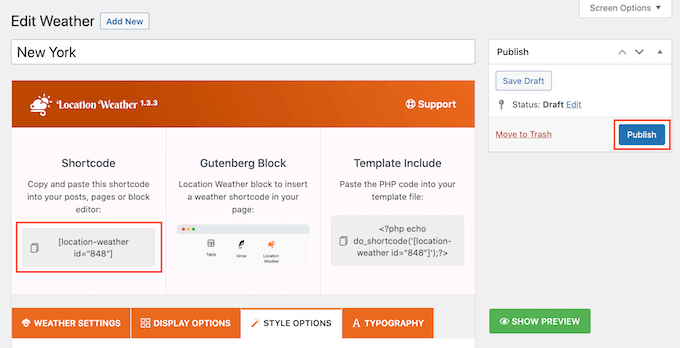
Step 4: Publish and Place
Once you hit Publish, the plugin generates a Shortcode (e.g., [location-weather id=”123″]).
Where to place it:
- Sidebar: Use the default “Custom HTML” or “Shortcode” widget in Appearance » Widgets.
- Posts/Pages: If you use the Gutenberg Block Editor, insert a “Shortcode” block wherever you want the weather to appear.
- Site Editor: For modern block themes, you can place this in your Header or Footer template parts.
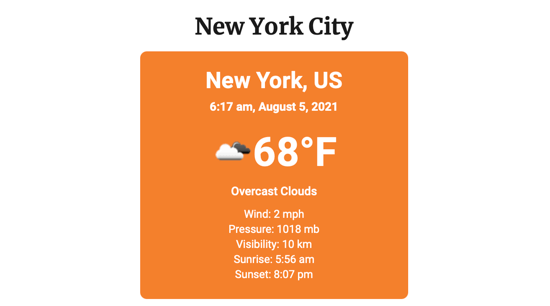
After all, this is how it looks:
3 Expert Tips for Hospitality Websites
To get the most SEO and conversion value out of this feature, don’t just slap the widget in the footer. Use it strategically.
- Contextual Placement: Place the widget near your “Book Now” or “Check Availability” forms. Positive weather reinforces the desire to travel.
- Create “Packing Guide” Content: Write a blog post titled “What to Pack for [Your City] in Spring” and embed the real-time weather widget at the top. This creates a highly useful resource that generates traffic.
- Visual Consistency: Ensure the widget font and colors match your brand palette. A jarring, mismatched widget looks like an ad and may be ignored by users (banner blindness).
FAQ: Add a Weather Widget to WordPress
Q: Will adding a weather widget slow down my WordPress site?
A: If you use a lightweight plugin like Location Weather, the impact is negligible. It makes a minimal external request to the API. However, avoid adding too many widgets on a single page.
Q: Can I show the weather based on the visitor’s current location?
A: The free version typically requires you to set a fixed location (like your hotel’s location). To auto-detect where the visitor is browsing from (geolocation), you usually need the Pro version of the plugin.
Q: Is the OpenWeather API free? A: Yes, the standard OpenWeather plan is free and allows for a high volume of calls (views) per minute, which is sufficient for most small to medium-sized business websites.
A: Yes, the standard OpenWeather plan is free and allows for a high volume of calls (views) per minute, which is sufficient for most small to medium-sized business websites.
Conclusion
Adding a weather forecast to your WordPress site is a small detail that can have a significant impact on user experience, especially in the travel and tourism industries. It keeps visitors on your site longer and provides them with the data they need to make booking decisions.
By following the steps above, you can install, configure, and style a professional weather widget in minutes without writing a single line of code.
Read more: TOP 30 WordPress Theme for Travel Blog (Free & Paid)
You may also like

8 Common Travel Website Design Mistakes That Can Reduce Bookings
Posted on June 25, 2026Think about the last time you booked a trip online. You probably had five different browser tabs open, comparing flights, hotels, and local tour operators. You were looking for the perfect getaway, but you were also looking for a seamless experience. Now, think about what made you close some of those tabs without buying.

How to Add Customer Reviews to Travel Website
Posted on June 22, 2026When planning a vacation, a weekend getaway, or a guided tour, travellers naturally want reassurance from real people who have already spent their hard-earned money on those experiences. Because they cannot physically test your travel services before purchasing, they look for visual indicators of safety, quality, and reliability. Adding genuine feedback directly onto your