How to Add Google Maps to Your Travel WordPress Website
Imagine reading a thrilling travel blog about a hidden beach in Bali or a cosy cafe in Paris. You are hooked, inspired, and ready to pack your bags. But then, you look for the exact location, and all you see is a vague text description. Frustrating, right?
As a travel content creator or tour operator using a modern content management system, your job is not only to tell stories but also to guide your audience. If you want to transform passive readers into active explorers, you need to provide clear, visual, and interactive directions. The best way to do that is to add Google Maps to travel WordPress website layouts.
In this guide, we will walk you through everything you need to know about setting up maps on your site. We will cover the benefits, answer your questions, and set up a perfect roadmap for your content. Let’s dive in!
What is Google Maps?
Before we look at the technical setup, let’s look at the foundational tool itself. Google Maps is a web-based mapping service provided by Google. It offers satellite imagery, aerial photography, street maps, 360° interactive panoramic views of streets, and real-time traffic conditions.
For website owners, Google Maps is highly customizable. It allows you to embed fully interactive maps directly into your web pages. This means your visitors can zoom in, switch to satellite view, look at street views, and even get directions without ever leaving your travel website. To ensure these resource-heavy map assets load instantly, it helps to build your site on the best hostings for travel WordPress website options. Whether you want to show a single hotel location or an entire multi-stop road trip itinerary, this tool makes it seamless.
Why You Should Add Google Maps to Your Travel Website
If you run a travel site, static images or simple text links just won’t cut it anymore. Visual components are essential for engagement. Here is why you should add Google Maps to travel WordPress website architectures today:
1. Enhance User Experience and Engagement
When you integrate interactive map travel blog elements into your posts, you make your content practical. Readers can actively interact with your itinerary, look at nearby landmarks, and understand the layout of a city. This interactivity keeps users on your website longer, which sends positive signals to search engines like Google.
2. Beautifully Display Tour Locations
If you sell travel packages or organise guided tours, you need a clear way to display tour locations in a WordPress style. A custom map lets you drop pins on hotels, activity hotspots, dining areas and specific lodgings, which functions beautifully if you manage reservations through a WordPress hotel booking system. This gives potential customers a clear, visual overview of what they are paying for, instantly boosting your brand’s credibility and bookings.
3. Boost Local SEO
When you properly embed a map, you help search engines understand the geographical relevance of your content. If you are writing a guide on “Best Cafes in Rome,” an interactive map reinforces your local authority, helping you rank higher for location-specific search queries.
4. Provide Seamless Mobile Navigation
Most travellers browse websites on their phones while they are actively exploring. A well-integrated Google Map allows users to tap on a pin and open directions instantly in their native Google Maps app. It turns your travel blog into an invaluable, on-the-go travel companion.
How to add a Google Map to a WordPress website
WordPress makes this incredibly flexible. Depending on how much detail you want to show and your comfort level with tech, you can choose between a quick manual approach and a user-friendly WordPress travel map plugin. Keep in mind that as you embed more dynamic visual data, learning how to speed up WordPress travel website configurations is highly recommended to keep your loading times low.
Method 1: The Easy No-Plugin Embed Approach
If you want a quick, hassle-free way to add Google Maps to travel WordPress website posts without installing extra software, this is the perfect method for you. It requires absolutely zero coding skills, takes less than two minutes, and is completely free.
While this manual approach doesn’t offer the advanced customisation of a dedicated WordPress travel map plugin, it is incredibly reliable for showing a single specific location like a hotel, a restaurant, or a specific landmark.
Step 1: Find and Customise Your Location on Google Maps
First, we need to grab the official location data straight from the source.
- Open your web browser and navigate to Google Maps.
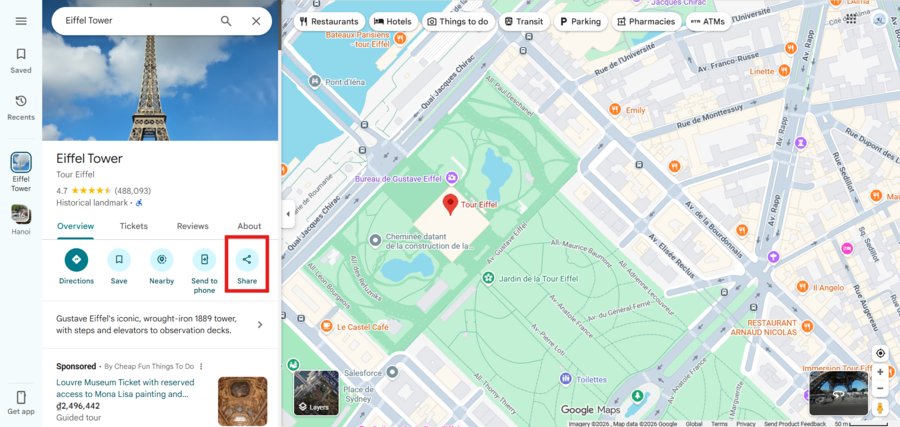
- In the search bar at the top-left corner, type in the exact destination you want to feature on your travel blog (e.g., “Eiffel Tower, Paris”).
- Once the map drops a pin on your location, click on the Share button located in the left-hand information panel.
Step 2: Copy the HTML Embed Code
A pop-up window will appear with two options: “Send a link” and “Embed a map”.
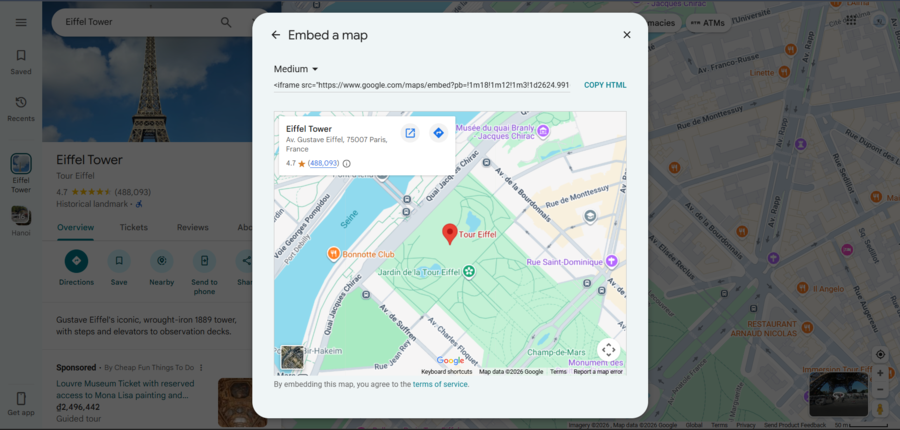
- Click on the Embed a map tab. You will now see a live preview of what the map will look like on your website.
- Choose your preferred map size from the dropdown menu (Small, Medium, Large, or Custom Size). For most travel blog posts, Medium works beautifully.
- Click the blue Copy HTML text link right next to the code box. This copies a snippet of code (called an iframe) to your computer’s clipboard.
Note: Do not worry about what the code looks like! You do not need to edit or understand it. WordPress will handle all the technical heavy lifting for you.
Step 3: Paste the Code into the WordPress Block Editor
Now, let’s head back over to your WordPress dashboard to display your new map.
- Open the post or page where you want to integrate interactive map travel blog elements.
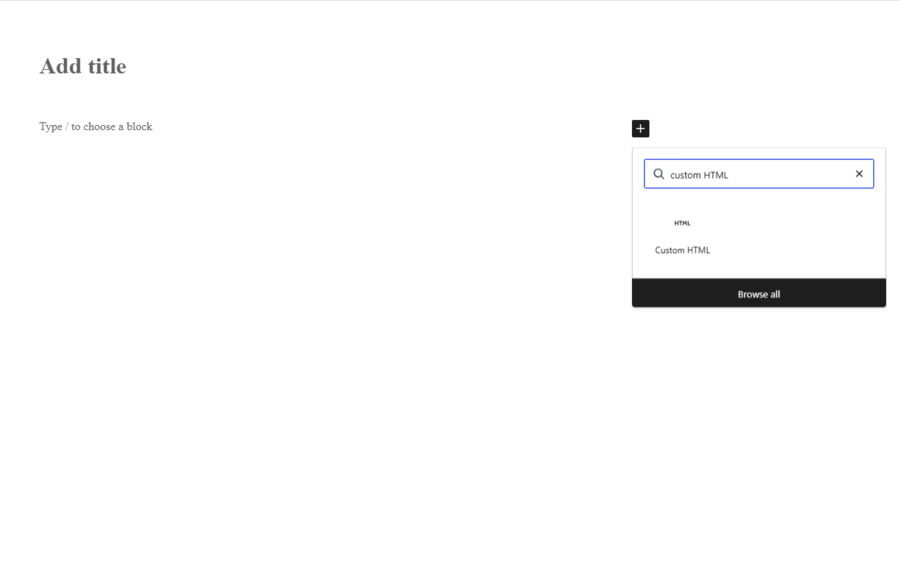
- Scroll to the exact spot where you want the map to appear and click the (+) Add Block icon.
- Search for Custom HTML in the block search bar and click on it.
- Right-click inside the empty block field and select Paste to insert the Google Maps code you copied earlier.
- To see how it looks instantly, click the Preview button on top of the block toolbar.
Method 2: Using the WP Go Maps Plugin (For Advanced Customisation)
While the copy-paste iframe method is great for single locations, it quickly falls short if you want to showcase an entire multi-day itinerary, add custom icons, or list multiple destinations on a single map. To truly level up your content, using a dedicated WordPress travel map plugin like WP Go Maps is the best choice.
WP Go Maps is one of the most popular and feature-rich map plugins available. It allows you to build highly personalised layouts, add images to your map markers, and design beautiful itineraries that match your blog’s aesthetic perfectly. It is the tool to display tour locations in a WordPress style for your readers.
Let’s walk through how to set this up step-by-step using WP Go Maps!
Step 1: Install and activate the plugin
First, let’s get the plugin added to your system.
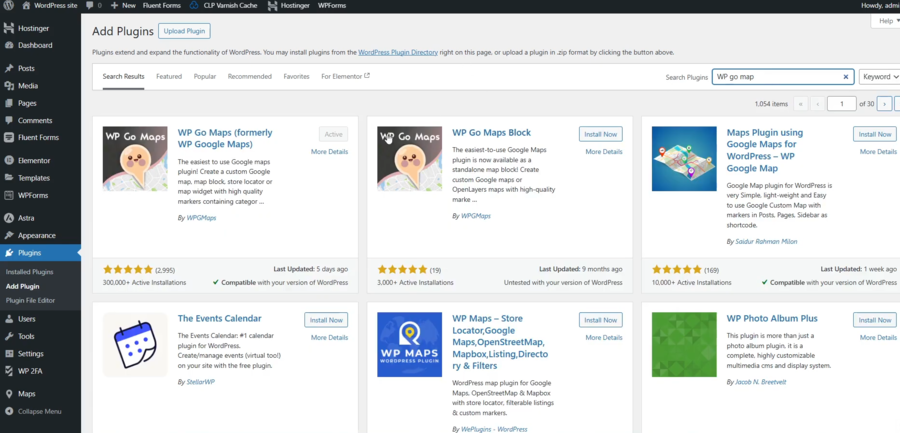
- Navigate to your WordPress dashboard, go to Plugins, and click Add New Plugin.
- In the search bar at the top right, type in the plugin you want to find.
- Find the plugin in the search results, click Install Now, and then click Activate.
Step 2: Configure Your First Travel Map
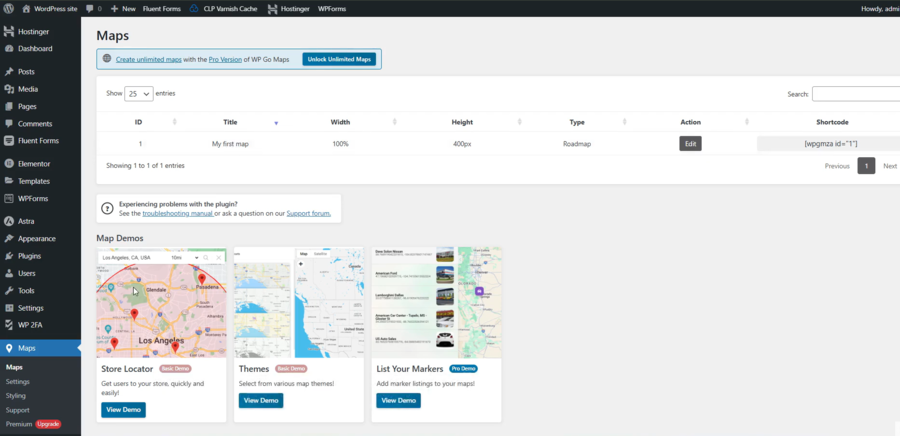
Once activated, you will see a brand new Maps item added to your WordPress sidebar menu.
- Click on Maps in your sidebar. The plugin automatically creates a default map for you to make things easy.
- Click the Edit link of the “My First Map”.
- Give your map a clear, descriptive title.
- Scroll down to the General Settings tab to choose your map engine, map type, and set your starting zoom level.
Step 3: Add Custom Markers to Display Tour Locations
Now you can add all your favourite travel spots to the interactive layout!
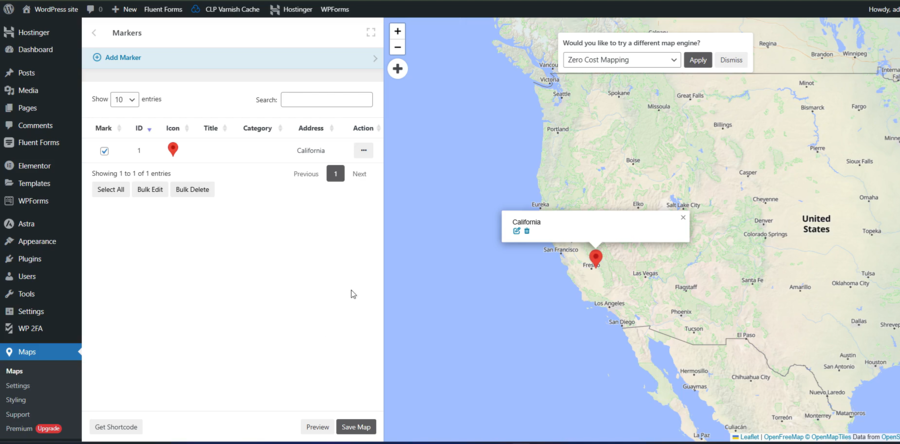
- Look for the Marker section right below your map preview screen.
- In the Address, type in your first destination (e.g., “Seljalandsfoss Waterfall”). WP Go Maps will automatically find the exact coordinates.
- Give the marker a clear title and add a short description.
- Click the Save Marker button. Your new location will instantly drop onto the preview map above! Repeat this process for every stop along your travel route.
Step 4: Display the Map on Your Travel Blog
Once you are done adding your locations, look at the bottom of your map editor screen to find your unique map shortcode.
- Copy the shortcode provided by the plugin.
- Open the specific blog post or page where you want to integrate interactive map travel blog components.
- Click the (+) Add Block icon, search for the Shortcode block, and paste your code directly inside.
FAQs About Adding Google Maps to WordPress
1. Is it free to add Google Maps to travel WordPress website layouts?
Yes, basic map embedding is completely free. You can generate a code directly from Google Maps and paste it onto your site without paying anything. However, if you use an advanced WordPress travel map plugin that requires a map api integration travel setup, you will need to create a Google Cloud billing account.
2. Will adding interactive maps slow down my travel website?
If you integrate interactive map travel blog scripts carelessly, it can slightly affect your page loading speed because it loads external data from Google. To prevent this, you can use plugins to lazy-load iframes, or use a high-quality WordPress travel map plugin that optimises script loading so your site stays lightning-fast.
3. Do I always need an API key to display tour locations in WordPress style?
No, you do not always need an API key. If you are just embedding a simple layout of a single location, a basic iframe embed works perfectly without an API key. You only need to handle a map api integration travel setup if you want complex features, like custom-colored maps, custom marker icons, or dynamic street views.
4. Can my readers get directions directly from my website map?
Yes! When you integrate interactive map travel blog components, users can click on the “View larger map” link or specific pins. This allows them to quickly calculate routes, look at travel times, and get driving or walking directions seamlessly.
Conclusion
Learning how to add Google Maps to travel WordPress website posts is one of the easiest ways to upgrade your travel content. It takes your writing from a simple story and turns it into a practical, actionable resource. By choosing to integrate interactive map travel blog sections, you make it incredibly easy for your audience to follow your footsteps, explore your recommendations, and visualize their next big adventure.
Whether you decide to use a simple manual embed code or leverage a feature-rich WordPress travel map plugin to elegantly display tour locations WordPress style, your readers will thank you for the extra effort.
What kind of travel map are you planning to build first? Are you creating a city guide or mapping out a cross-country road trip? Let us know in the comments below, and don’t forget to tell me when you’re ready to write the step-by-step walkthrough instructions for the main content body!
Read more: WP Hotel Booking vs WooCommerce Bookings: Which Plugin Wins?
You may also like
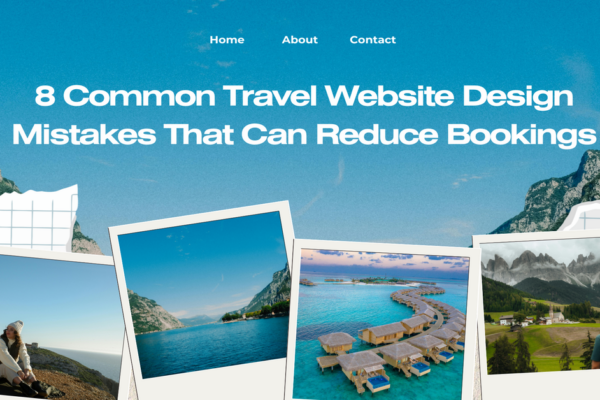
8 Common Travel Website Design Mistakes That Can Reduce Bookings
Posted on June 25, 2026Think about the last time you booked a trip online. You probably had five different browser tabs open, comparing flights, hotels, and local tour operators. You were looking for the perfect getaway, but you were also looking for a seamless experience. Now, think about what made you close some of those tabs without buying.
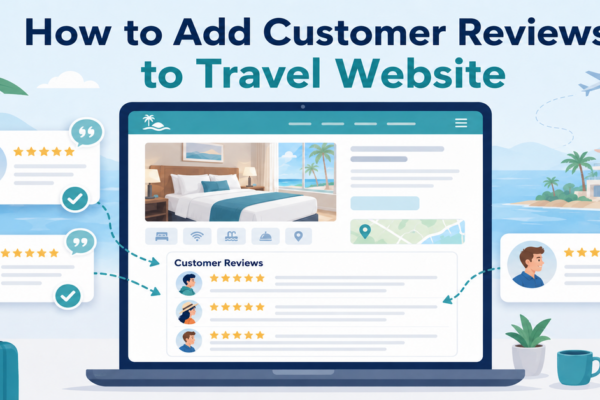
How to Add Customer Reviews to Travel Website
Posted on June 22, 2026When planning a vacation, a weekend getaway, or a guided tour, travellers naturally want reassurance from real people who have already spent their hard-earned money on those experiences. Because they cannot physically test your travel services before purchasing, they look for visual indicators of safety, quality, and reliability. Adding genuine feedback directly onto your